20 November 2012 - Its been a long time I didn't update my blog. Here, I share some of my experience on my assignment of "Robotic, Manufacture, Process Engineering" subject.
The things that I have done in Week 7 of my semester 2 is this:
ROBOTIC ASSIGNMENT I : BUILD A SIMPLE AUTONOMOUS ROBOT ( WITHOUT PROGRAMMING )

The picture above is the product of my robotic assignments I. It is my 1st robot babe, called "beetlebot", but I designed its casing not like a beetle. Well, to build this, there are several materials and tools are required, and also an electrical circuit.
List of Tools Required (as shown above):

1. Soldering Iron with stand
2. Hot glue gun
3. Pliers
4. Cutter
5. Screwdriver ( Optional )
6. Ruler ( Optional )
List of Materials used (as shown above):
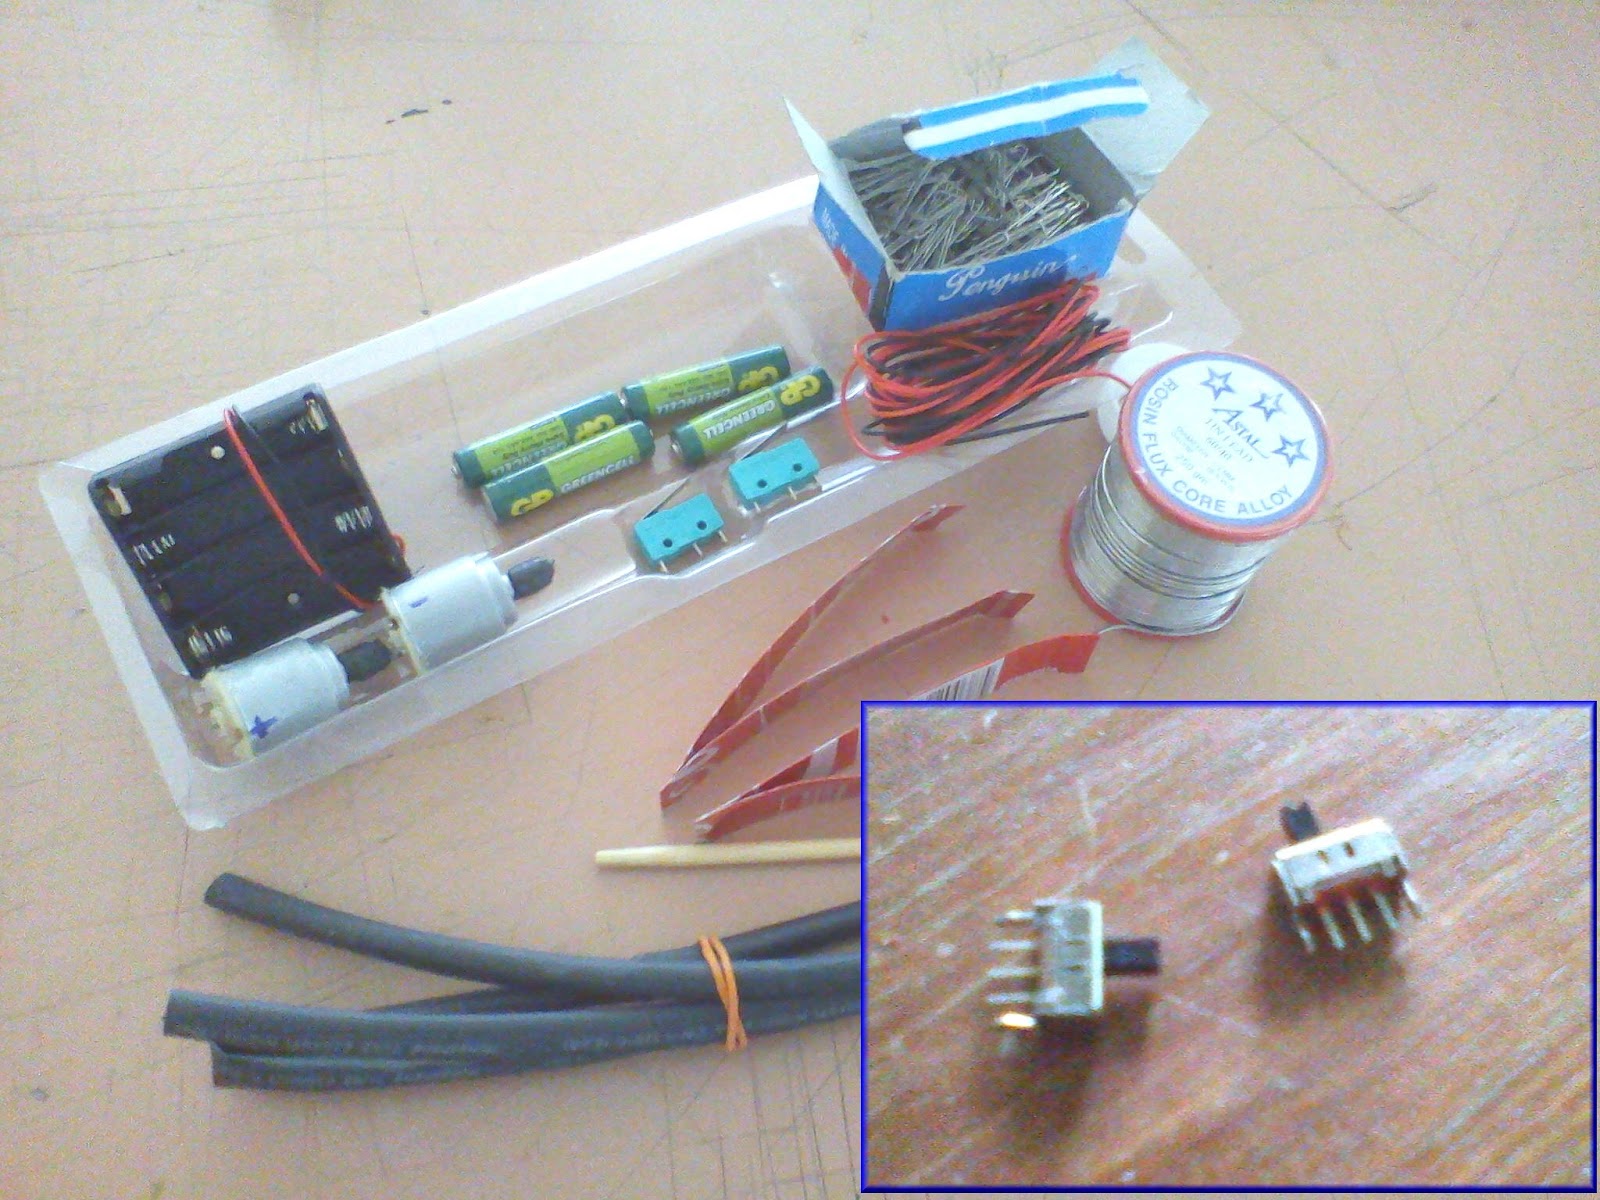

2. SDPT switches ( 2pcs )
3. AAA batteries holder with 4 slots ( 1pc )
4. 3V motors ( 2pcs ), Long shaft
5. Paper clips
6. Wires ( any type )
7. ON-ON micro switch ( 1pc )
8. 60Sn/40Pb Solder
9. Heat shrink
10. Polystyrene Foam, curved border
11. Cardboard
12. Plastic Pearl, or any other mechanical rotate-able part
13. Miscellaneous:
a. Insulating tape
b. Hot glue stick, super glue
c. Pine wood stick
Diagram of the electrical circuit

Procedure / What to do
1. Prepare all the materials and tools
required. Turn on the hot glue gun inserted with glue stick and wait until
heated. When there are some molten glue come out from the gun tip, turn off the
glue gun and start to glue.
2. Attach the motors to the batteries
holder as shown in Picture 1 below.

Picture 1
3. Wait until the hot glue solidified.
Then, attach the SPDT switches to shaped pine wood stick and attach the
component to the batteries holder as shown in Picture 2 below.

Picture 2
4. Wait until the glue solidified. If the
glue inside the glue gun was solidified, turn on the glue gun until the glue
melt again.
5. Attach the ON-ON micro switch at a
desirable position around the batteries holder which is easy for people to
manipulate it.
6. Insert the plastic pearl to a paper
clip. Then, use a pliers to bend a paper clip into a particular shape that can
hold a plastic pearl and attach it to the back side of the batteries holder by
using hot glue as shown in Picture 3 below.

Picture 3
7. After finished attachment of
components, start to heat up the soldering iron. Note that the soldering iron
must inserted into the soldering iron stand so that physical injuries can be
prevented.
8. When the soldering iron is heated,
start soldering action. First, make the heat shrink strongly attached to the
motor shaft so that it can act as tires. Second, connect the wires to
components conductive part as shown in the Diagram of Electrical Circuit in the
Introduction. It should be connected like in the Picture 4 below.

Picture 4
9. Now, the skeleton of the robot body is
completed ( Interior ). Next step is to make the protective casing to cover the
skeleton of the robot ( Exterior ) and is depend on the designation of the
creator. For this project, polystyrene foam and cardboard are used. It is
designed as shown in Picture 5 below.

10. This step
is optional. Make some additional decoration for the protective casing of the
robot body. This project is decorated as shown at the post ( Finished design ).
This thing can be build for: it can make as creative toys, and many others shapes and designs for particular
applications.
That's it, Enjoy~ !! : )


.jpg)


